How to Install an Exterior Door Step by Step Guide?
Installing an exterior door can transform the look and energy efficiency of your home. According to the National Association of Realtors, proper door installation can yield a return on investment of about 75% when selling a home. Homeowners often overlook the importance of a well-installed exterior door, leading to issues like poor insulation and security vulnerabilities. Studies show that nearly 25% of households experience drafts due to improper door fit, highlighting the need for a careful approach to exterior door installation.
The process involves selecting the right door and ensuring accurate measurements. Many DIY enthusiasts underestimate the complexity of this task. Each step must be approached with precision. For example, uneven floor surfaces can impact door alignment. This can cause unnecessary wear and reduced efficacy in security systems. Seeking professional advice or help can mitigate these risks. However, not all homeowners have access to skilled labor, pushing them towards self-installation.
Performing a do-it-yourself installation can be rewarding yet challenging. Knowing when to call for help is essential. Understanding your limitations can save time and prevent frustration. With the right guidance and tools, successful exterior door installation is attainable for many homeowners. However, the journey is filled with learning opportunities and unexpected hurdles.
Choosing the Right Exterior Door for Your Home's Needs
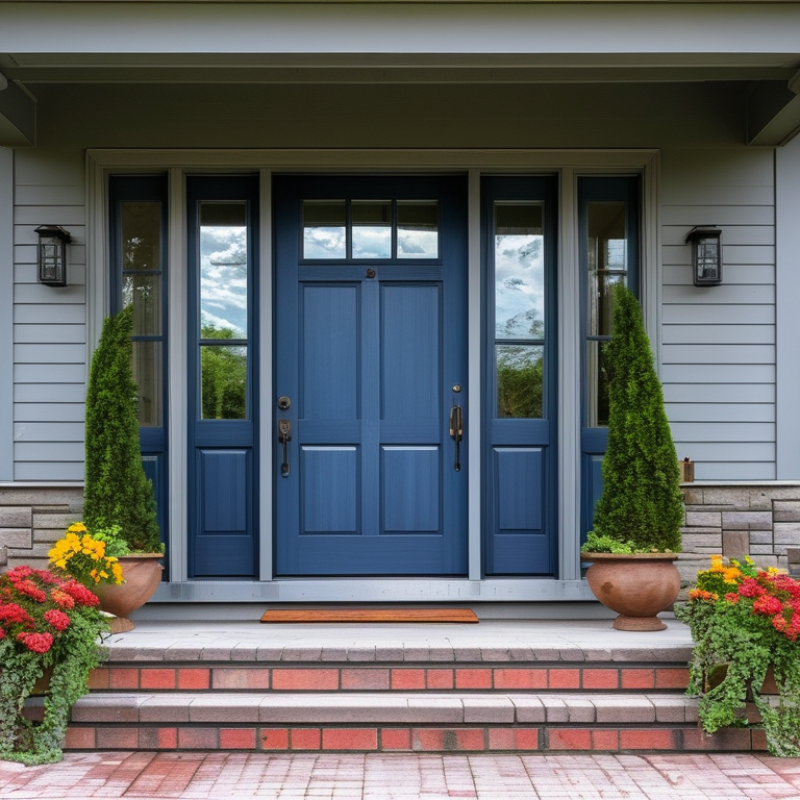
Choosing the right exterior door for your home requires careful consideration. According to the National Association of Realtors, 76% of homebuyers consider the exterior of a property very important. A well-chosen door can improve first impressions and increase your home's value. Material options range from fiberglass to steel, each offering unique benefits. Fiberglass can mimic wood’s appearance, providing durability and energy efficiency.
When selecting a door, think about climate and location. For instance, areas prone to storms may benefit from impact-resistant doors. Energy Star reports that using energy-efficient doors can reduce heat loss by up to 30%. However, many homeowners overlook efficiency ratings, focusing instead on aesthetics. This can lead to higher utility bills or replacements sooner than expected.
Don’t forget security features. A door with a solid core or reinforced frame can deter break-ins, which are prevalent in suburban areas. The Bureau of Justice Statistics indicates that 62% of burglaries involve forced entry through doors. Investing in the right door can also enhance peace of mind. It’s crucial to balance style, efficiency, and safety, as neglecting any one aspect can lead to regrets down the line.
Essential Tools and Materials for Exterior Door Installation
Installing an exterior door requires a good set of tools and materials to ensure success. Essential tools include a level, tape measure, and a power drill. A study by the National Association of Home Builders indicates that over 70% of DIY renovations fail due to inadequate preparation. Using the right tools is crucial to avoid frustrating mistakes.
Materials are equally important. A quality door frame, weather stripping, and hinges are vital for durability. According to data from the American Institute of Architects, more than 25% of home improvement projects go over budget because of poor material choices. Selecting high-quality components can save money in the long run.
Don't forget safety equipment. Wearing gloves and goggles is essential to prevent injuries. Leaving this step out increases the risk of accidents during installation. Those who overlook safety may face setbacks that delay their project. Reflecting on this can lead to a better installation experience. Each choice impacts not just the door’s functionality, but overall home security.
Step-by-Step Guide to Preparing the Door Frame for Installation
Preparing the door frame for installation is a crucial first step. Start by removing old trim or casing around the existing door if applicable. Use a pry bar carefully to avoid damaging the surrounding wall. Inspect the frame for any signs of rot or damage. If issues are present, replace or repair the affected areas before proceeding. Clean the area thoroughly to ensure a secure installation.
Next, check the door frame’s measurements. Accurate measurements ensure the new door fits perfectly. Measure the width and height of the opening. Don't forget to account for shimming material and any new framing needed. If the opening is uneven, adjustments will be necessary. This may involve adding or removing shims to create a level surface. Ensuring a level door frame is vital for functionality and aesthetics.
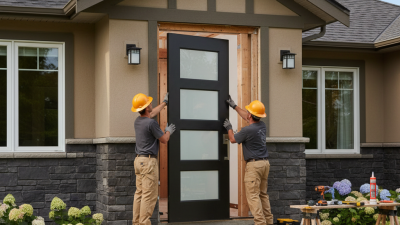
Once everything is measured and prepared, it’s time to position the new door frame. Place it in the opening and use a level to check for alignment. This part can be tricky; take your time to adjust the frame as needed. Secure the frame temporarily with screws. Make final adjustments for a perfect fit, ensuring it swings correctly and seals properly.
How to Install an Exterior Door Step by Step Guide? - Step-by-Step Guide to Preparing the Door Frame for Installation
| Step Number |
Description |
Tools Required |
Time Estimate |
| 1 |
Remove the existing door and frame if applicable. |
Screwdriver, Crowbar |
1 hour |
| 2 |
Measure the door opening for the new door frame. |
Measuring Tape, Level |
30 minutes |
| 3 |
Prepare the door frame by ensuring it's square and level. |
Hammer, Shims |
1 hour |
| 4 |
Install the new door frame into the opening. |
Nails, Nail Gun |
1 hour |
| 5 |
Seal the frame and fill any gaps with insulation material. |
Caulking Gun, Insulation Foam |
30 minutes |
| 6 |
Attach the door hinges and the new door. |
Screwdriver |
30 minutes |
Proper Techniques for Installing an Exterior Door Frame
Installing an exterior door frame requires careful attention to detail. Start by measuring the rough opening. Use a level to ensure the opening is square. If it isn’t, adjustments are necessary. When selecting the frame, consider the material. Wood, fiberglass, and steel have different properties and insulation qualities.
Next, position the frame within the opening. Place shims under the frame to support it. Check again for level and adjust as needed. Secure the frame to the wall with screws. Be mindful of the spacing; a gap helps avoid future issues like swelling or sticking.
After securing, inspect the installation. Look for any uneven areas or gaps that may let air in. These small details can affect energy efficiency. You might need to rethink your alignment if something seems off. A well-installed door frame not only enhances your home’s appearance but also its security. Proper techniques make this possible.
Sealing and Finishing Touches for Energy Efficiency and Durability
When installing an exterior door, sealing is crucial for energy efficiency. Gaps around the door can lead to air leaks. Use weatherstripping for a tight seal. It’s important to choose quality materials. Make sure to measure accurately and apply the weatherstripping evenly. This small step can significantly reduce energy costs.
Finishing touches are equally important. Caulk around the door frame helps prevent moisture entry. Select exterior-grade caulk for durability. Ensure you smooth the caulk line to avoid an uneven appearance. This not only improves aesthetics but also adds another barrier against the elements. Don’t rush through this process. Take the time to ensure a proper seal.
While sealing and finishing, reflect on your installation method. Did you take the time to double-check for level and square? These factors influence the door's longevity. A door that's not aligned can lead to gaps. Make adjustments as needed to ensure the best fit. This can be a learning experience for future projects.



 Questions? Give Us A Call!